


By default, most WordPress themes come with a handful of page options to choose from. However, if you want to use a different layout for individual posts, you’ll need to create a single post template.
The good news is that there are multiple ways to do this, with the easiest being to use a page builder. Custom post templates offer you a way to apply unique styles to certain pieces of content so they stand out.
In this post, we’ll start by explaining what a single post template in WordPress is and why you might need one. Then we’ll walk you through, step-by-step, how to create one WordPress using a page builder such as Beaver Builder. Let’s get started!
Why Create a Single Post Template in WordPress?
As the name suggests, a single post template is a template you can use for individual posts in WordPress. You can use them to create and apply unique styles and layouts on certain posts.
A custom single post template is useful when you’re looking for a specific post type that isn’t an option with your current theme. They also come in handy when you want to customize a post (or category of posts) without affecting all of your posts.
In addition to creating varying layouts for your post content, you can also use custom templates for different authors on your site. For example, each author or contributor could have their own template to use on posts to help differentiate them.
Creating single post templates in WordPress gives you more control and flexibility over the appearance of your content. You can use them to make pieces of content stand out to maximize engagement. Plus, you can save and re-use the template whenever you want, without having to waste time recreating it.
How to Create a Single Post Template in WordPress (In 5 Steps)
The traditional method of creating a custom single post template in WordPress is to manually code it. This approach consists of creating a blank .php file and adding code such as the following:
<?php
/*
* Template Name: My Custom Post Template
* Template Post Type: post, page
*/

get_header(); ?>
Then you would upload this file to your theme folder via FTP, copy and paste the code from another single.php file to use as a basis, then modify it to your liking. While there’s nothing necessarily wrong with this method, it’s not your only option.
If you’re uncomfortable directly editing your theme’s files or you simply want an easier way, we recommend using a page builder such as Beaver Builder:

For the unfamiliar, this is a powerful page builder plugin that you can use to build everything from landing pages to portfolios. Let’s take a look at how you can use it to create a single post template in WordPress in five steps.

Create a single post template in minutes using Beaver Builder!
Get Beaver Builder nowStill unsure if Beaver Builder is the page builder for you? Try out their live demo to find out how easy it is to create a single post template in minutes!
Step 1: Install and Activate the Beaver Builder Plugin and Themer Add-On
Beaver Builder offers a free, Lite version of its plugin. However, to create a custom single post template, you’ll need the Beaver Builder premium plugin (to create the template layout) as well as the Beaver Themer add-on (to apply the template to posts).
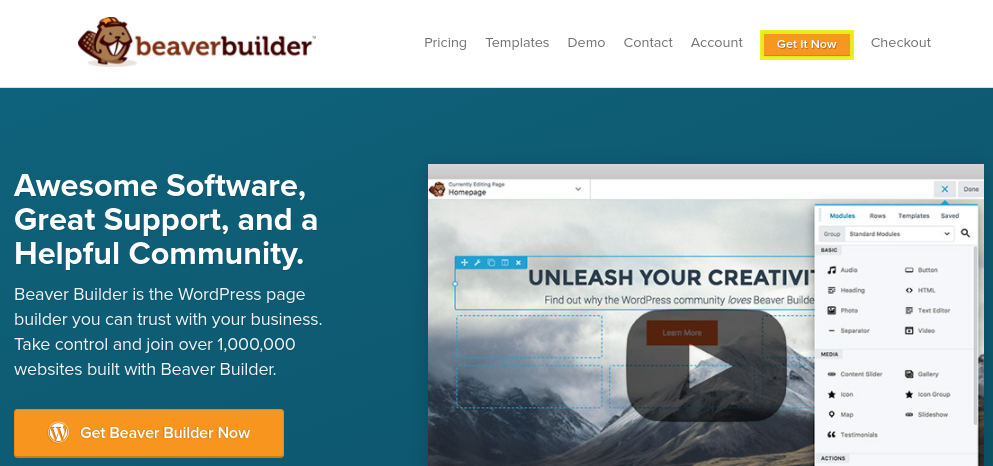
To install the premium plugin, visit the Beaver Builder website and click on Get It Now:
There are multiple pricing packages you can choose from. Once you select your plan, follow the prompts to complete the checkout process.
You can find the plugin, available downloads, and your activation key from your Beaver Builder ‘My Account’ page. Download the Beaver Builder and Themer .zip files, then upload them (respectively) to your WordPress site by navigating to Plugins > Add New > Upload Plugin.
Once you install the Beaver Builder plugin, you can activate your license key by going to Settings > Beaver Builder > License:

Enter your license key, then click on the Save License Key button.
Step 2: Enable Post Types in the Beaver Builder Plugin
By default, the Beaver Builder plugin is automatically configured for pages. Therefore, the next step is to enable it for posts as well.
To do this, navigate to Settings > Beaver Builder > Post Types:

Select the box next to ‘Posts’. When you’re done, click on the Save Post Types button at the bottom.
Step 3: Create a New Themer Layout
The next step is to create the layout for your custom single post template. To get started, navigate to Beaver Builder > Themer Layouts from your dashboard, then select Add New:

Note: Your first instinct may be to click on the Templates option. However, for the purpose of creating a single post template, it’s better to use Themer layouts, which are more specific to singular post types.
On the ‘Add New’ screen, enter a title for your template. From the ‘Layout’ dropdown menu, select Singular:
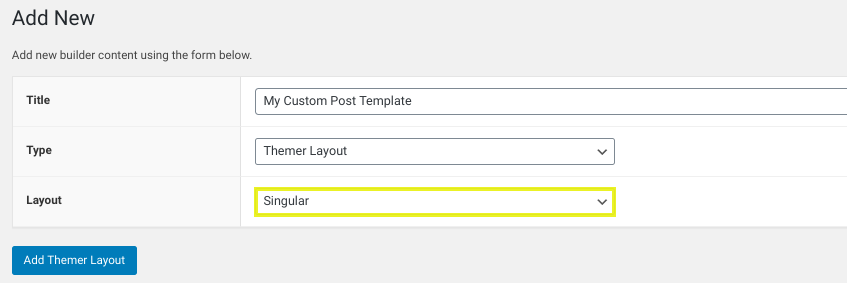
When you’re done, click on the Add Themer Layout button. Once you save your changes, new sections with additional settings will appear on the screen. However, you don’t need to worry about those just yet.
Step 4: Launch Beaver Builder to Create and Edit Your Single Post Template
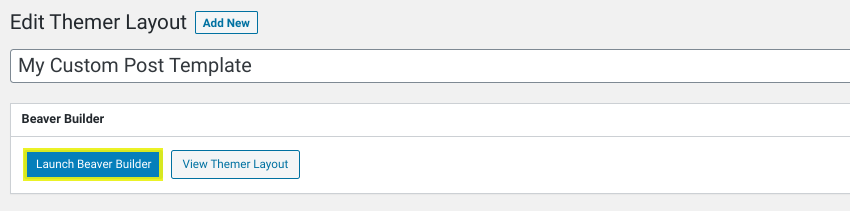
On the same Themer layout page, select the Launch Beaver Builder button:
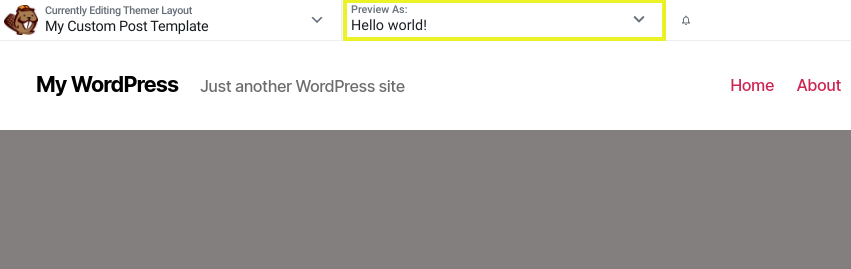
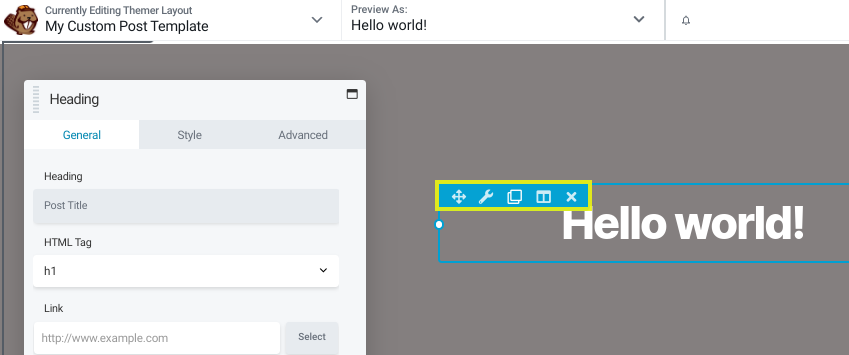
This will open the Beaver Builder editor interface on the frontend of your WordPress site, with your new theme layout automatically applied. From the Preview As: dropdown list at the top, you can choose any post or page to display:
You can see all the standard content you would expect on a post, such as a post title, information, comments, images, etc. To remove or modify any content element on the page, simply hover over it and the toolbar will appear:
You can also move a section to another area by dragging and dropping it. To add modules, click on the (+) icon, followed by Modules:

From the ‘Group’ dropdown, you can select Standard Modules or Themer Modules. The latter will have more post-specific options, such as author bios and post navigation.
Once you’re done, you can save your single post template. To do this, click on the Done button in the top right-hand corner, followed by Publish.
Step 5: Configure the Custom Post Template Settings to Define Where It Appears
At this point, we’ve created and saved a custom single post template. Now we need to tell WordPress which of your posts to apply it to.
As you might recall from Step 3, when you first add a new Themer layout, there are a few settings you can configure. This is when you’ll want to revisit those.
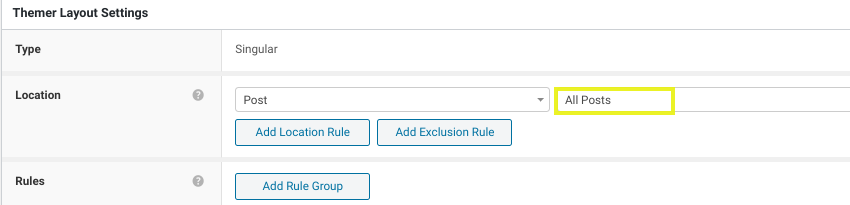
Click on the Edit Themer Layout button at the top of the Beaver Builder editor (or navigate to Beaver Builder > Themer Layouts from your dashboard). Under the ‘Themer Layout Settings’ section, there is an area to choose the location(s) for your template:

From the dropdown menu, select Post. By default, this will automatically set it to All Posts:
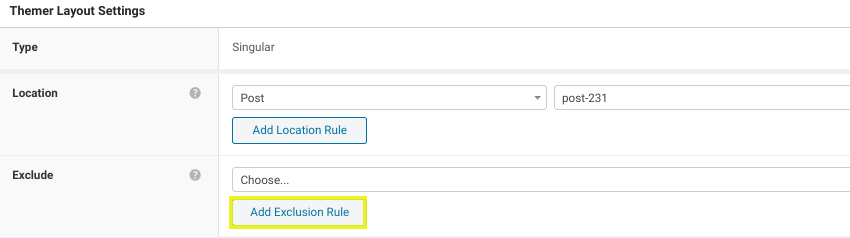
If you leave it as is, the template will be applied to all existing WordPress posts on your website, as well as any future ones you create. To only use it for an individual post, you can select that post title from the list.
You can also specify the post template location by post categories and tags. To exclude a certain post, select the Add Exclusion Rule button:
There’s also the option to create conditional rules. For example, you can filter the template application by authors, users, and other features.

To save and apply any changes you make to these settings, click on the Update button in the top-right of the screen.
That’s it. You’ve now successfully created a single post template in WordPress!
Conclusion
There are a variety of purposes a single post template in WordPress can serve — and multiple ways to create one. If you’re not comfortable working with code, you can use a page builder such as Beaver Builder.
In this post, we discussed how to create a single post template in WordPress in five steps:
- Install and activate the Beaver Builder and Beaver Themer plugins on your WordPress site.
- Enable Post Types in the plugin settings.
- Create a new Themer layout.
- Launch the Beaver Builder editor to create and customize your single post template.
- Configure the custom post template settings to define where it appears.
Create a single post template in minutes using Beaver Builder!
Get Beaver Builder nowDo you have any questions about creating a single post template in WordPress? Let us know in the comments section below!

One Response
Wonderful content to create post template in WordPress I have been using for a long time thank you