


Keeping your WordPress site protected from hackers is getting more difficult the more popular the platform becomes. WordPress is more open to hacks simply by virtue of running 40% of websites on the internet. While one of the best security practices is to keep your WordPress site’s core and plugins up to date, and even more effective and efficient solution is to use a WordPress security plugin.
Raise your hand if you’d enjoy checking on your site every few minutes to make sure no one is trying to hack their way in. No one has time for that, especially when you’re managing several sites at once.
Let’s talk about making your WordPress sites more secure and making your life easier at the same time.
WordPress Security Plugin to The Rescue
According to a 2021 WordPress Vulnerability Report, “On average, 30,000 websites are hacked every day. Every 39 seconds, a new cyberattack happens somewhere on the web.” That means that your site is already a target.
Keeping your WordPress site safe from hackers can be an overwhelming task. We’ll show you how to employ a WordPress security plugin to save you time and help you sleep better at night.

The iThemes Security plugin helps keep your WordPress site secure in the background, while you work on the other important things you’d rather be doing. This powerful WordPress secuirty plugin can stop automated attacks, fix common security holes, strengthen user credentials, and even lock down your WordPress site to thwart hacking attempts.
In this article, I’ll explain more about the benefits of using a WordPress Security plugin, and show you how the iThemes Security plugin works.
How to Secure Your Site with The iThemes Security Plugin
Getting reliable security for your website is as easy as installing a plugin. After you configure some settings specific to your site, it will run in the background 24/7. Let’s go through the steps!
Step 1: Install the plugin
You can either download the plugin through the iThemes website or from within WordPress. In your dashboard, navigate to Plugins>Add New. Then search for iThemes Security:
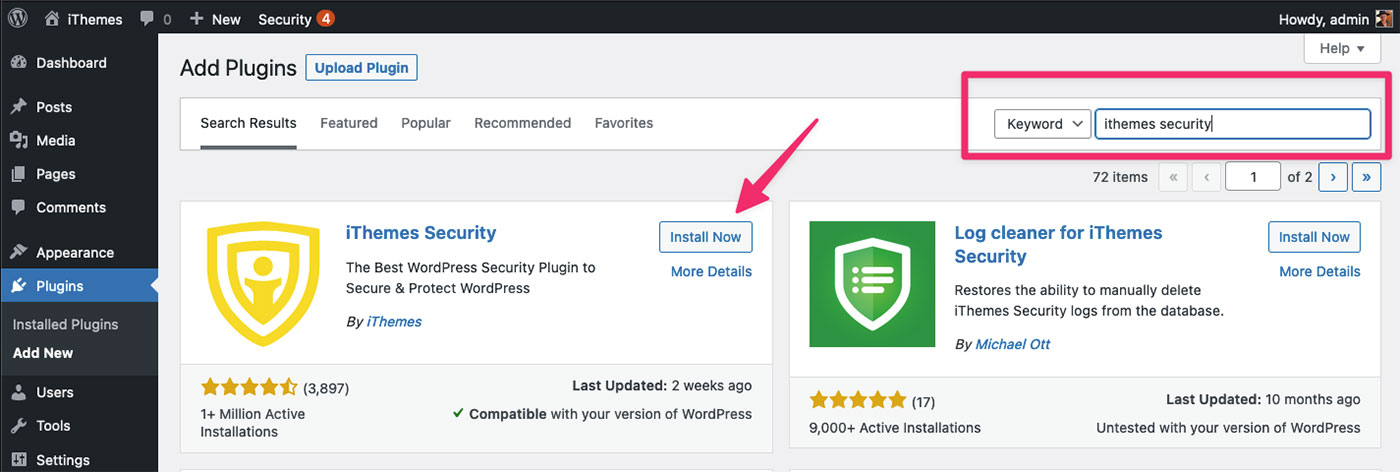
If you downloaded the plugin, you can install it by navigating to Plugins>Add New in your dashboard, then choose Upload Plugin at the top. Browse for your downloaded file on your computer.
Click Install Now, then Activate. That’s it! Now let’s get into the setup.
Step 2: Choose the type of website
In your dashboard menu, there will now be an item labelled Security. Click the menu item and you’ll be inside the iThemes setup wizard.
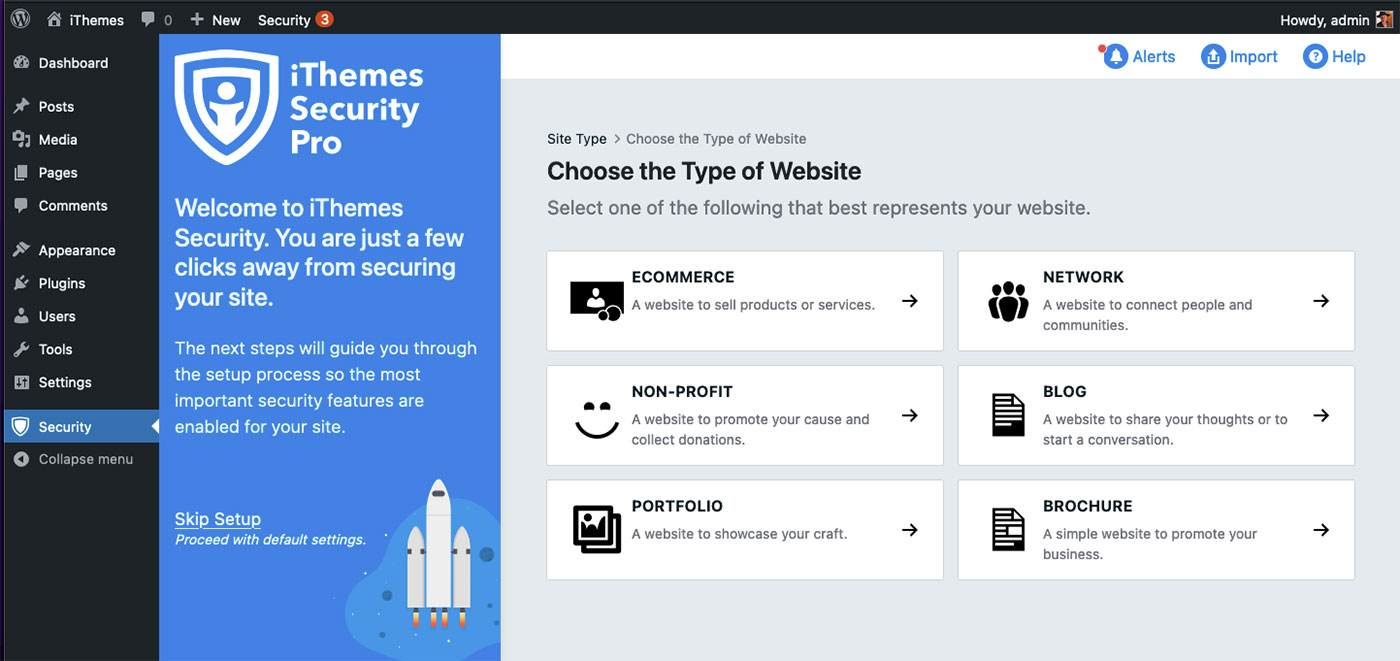
In this example, we’ll use a Blog as the type of site.
Choose who you are setting the site up for
In the next step, you’ll choose the type of person for whom you’re setting up security: Self or Client.

It’s pretty great that they’ve built in an option for clients. For this tutorial, let’s use Self.
Two-factor authentication
This option is one we should all know well. It secures your account by requiring both a password and a code sent to the device or authenticator app. Of course, it’s an individual choice based on your personal needs, but as long as you’re here, why not employ as much security as you can?
iThemes Security supports the most common two-factor mobile apps such as Google Authenticator, Authy, FreeOTP, and Toopher.
Password Policy
This selection allows you to secure your users with a password policy. iThemes Security will require them to create a strong password that hasn’t already been compromised.
Step 3: Features
After you click next, you’ll arrive at the Features screen. You’ll notice that you’ve already made two of the selections here. If you like, you can turn on the Trusted Devices feature, but otherwise, let’s move into Lockouts by selecting the tab at the top of the menu.
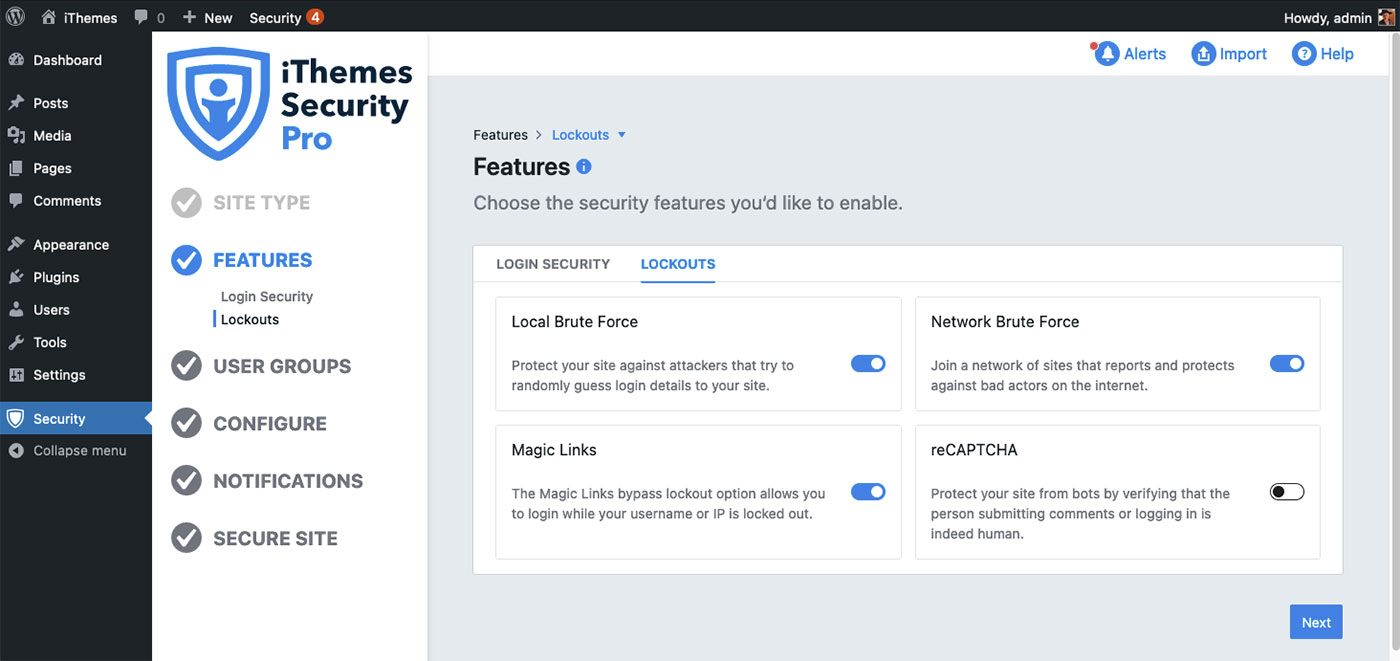
The lockouts menu gives you several options:
- Local Brute Force
- Network Brute Force
- Magic Links
- reCAPTHCHA
Each option gives an explanation of the functionality it provides when turned on. Again, these are very individual choices and will depend on your needs for a particular site.
Step 4: User Groups
The next section to set up is User Groups. These settings allow you to enable security features for specific sets of users.
iThemes Security recommends starting with the Default Groups settings. This is the easiest way to get started, and is probably a good idea if you’re not sure what you’re doing yet.
You can also go with custom groups and categorize your users any way you prefer.
It’s important to note that User Groups won’t change a user’s capabilities, these settings only affect iThemes Security features.
Let’s go with Default Groups. This moves you to the next menu, where you can make more specific selections based on user roles.

Step 5: Configure
Under the lockout tab, you can specify the Network Brute Force and reCAPTHCHA settings we turned on earlier. Network Brute Force is a particularly useful feature. Because WordPress is especially vulnerable to multiple login attacks, a hacker can ultimately get in if they keep trying long enough —hence “brute force” attack. iThemes Security limits the number of times a user can incorrectly login, preventing those brute force attacks from being successful.
Step 6: Notifications
Notifications are simple enough. In this area, you can provide an email address for any alert notifications about your website security that iThemes might send. The default is your WordPress Admin email, so there’s an option to send to all users whose role is Admin, or just one admin if you like.
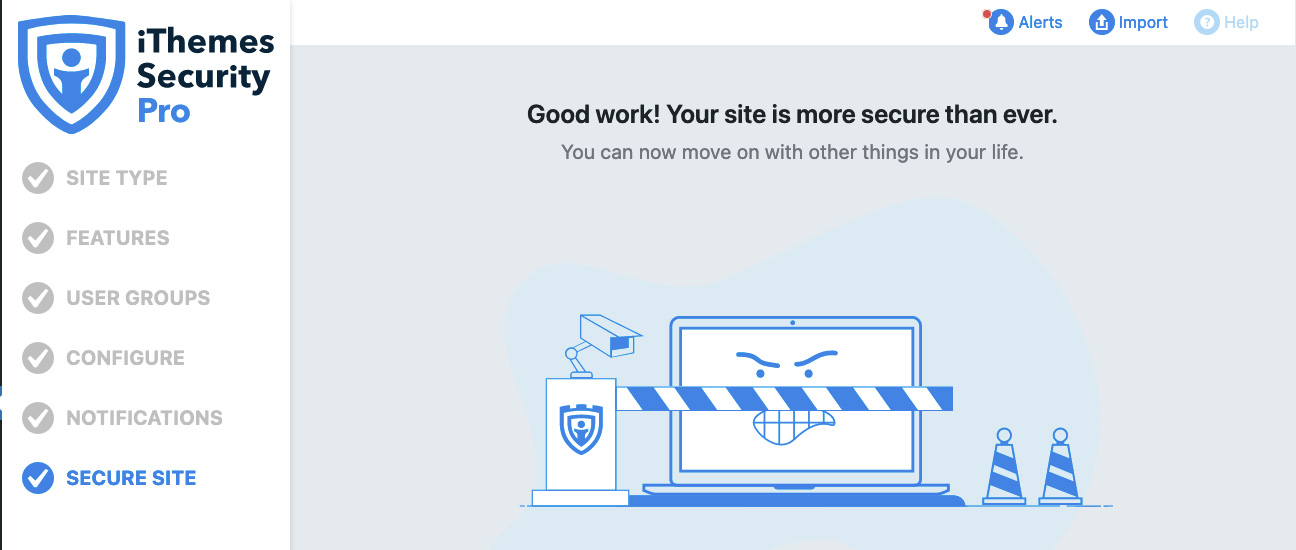
Step 7: Secure Site
The last section reviews all of the selections you’ve previously made in a group of drop-down lists.
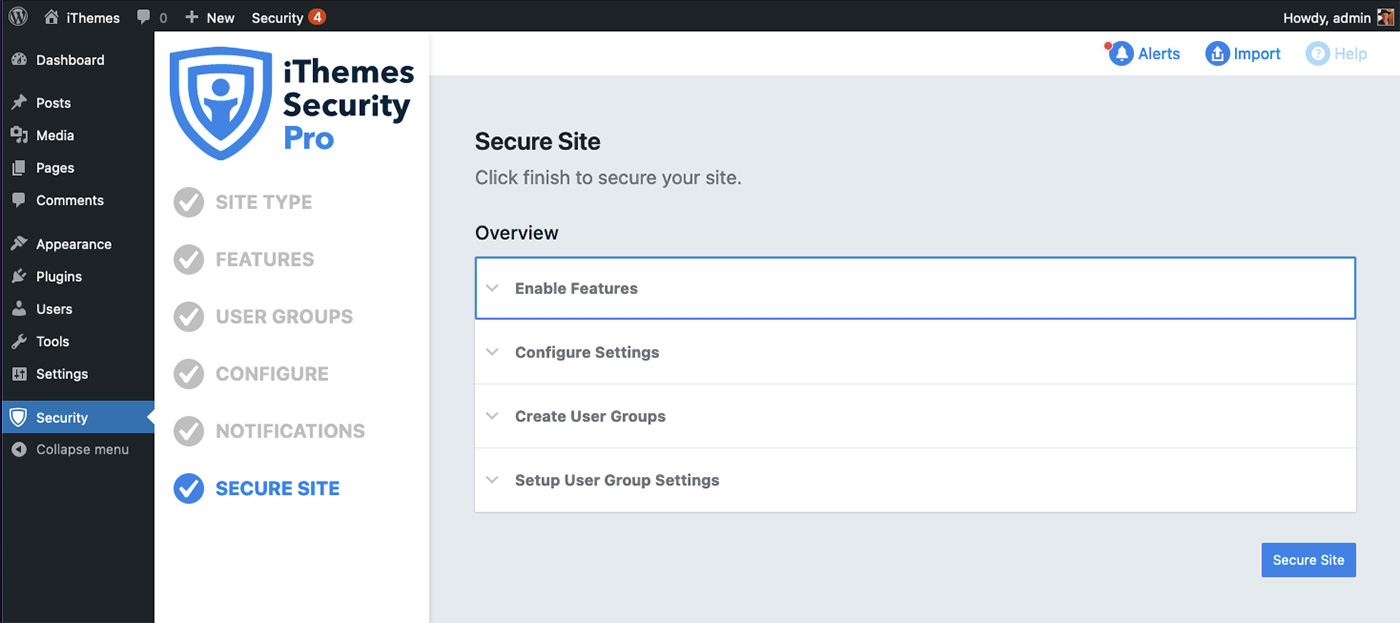
If you’re satisfied with all the options, just click Secure Site and you’re done!
If you decide you want to change any of the security options you’ve selected, you can access the menu at any time and reconfigure the settings.
Using a WordPress Security Plugin Makes Life Easier
As the last screen says, “You can now move on with other things in your life.” If you’re someone who manages multiple sites, you can imagine how much time it will save by having your site security running in the background.
As a WordPress admin, it’s your responsibility to make sure that your site is protected from hackers. It’s an important job, but it doesn’t have to take over your workday. The iThemes Security plugin monitors your site for you, and you can focus on content and design.
In addition to the features we covered above, the iThemes Security plugin offers things like Breached Password Protection and File Change Detection. Breached Password Protection integrates with the Have I Been Pwned database, so you’ll know if any of your passwords have been involved in a known data breach. With File Change Detection, iThemes scans files hosted on your website and alerts you when changes occur that may indicate a security breach.
I hope this article has shown you how important it is to secure your WordPress website — and how easy it can be. In the comments below, let us know what kind of security issues you’ve faced with your WordPress sites.
