


Using WordPress and WooCommerce to host your online store is a powerful combo. But what if you sell products wholesale? You’re going to need a more robust solution. You need a WooCommerce B2B extension.
Converting your store from vanilla WooCommerce to a fully-fledged wholesale site might sound daunting. It doesn’t have to be, and in this article, I’ll show you how to do it easily.
Use B2BKing to Expand Your WooCommerce Store
The good news is that you don’t need to hire a developer to add custom code to your WooCommerce store. You can expand your store to offer B2B products yourself, using a plugin called B2BKing.
B2BKing extends your WordPress WooCommerce site, allowing you to sell wholesale products as well as offer the same features as any other B2B platform available.

These are just a few features of the plugin:
- Automatic Tiered Pricing
- Minimum Order Quantities
- Dynamic Pricing and Discounts
- Product Visibility Control
- Wholesale Order Forms with 3 Theme Options
- Hide Pricing for Guests
You can get your wholesale store up and running in a short time, without writing any code. Let’s go over some of the basics of the setup!
How to Get Started with B2BKing
Getting up and running with your wholesale online store isn’t complicated with B2BKing, but there are some important settings to configure as you get started. Let’s quickly go over the installation and then we’ll get to the setup.
Install the Plugin
First, head over to the B2BKing WordPress.org download page. Just click the blue Download button and save it to your computer — leave it zipped.
In your WordPress Admin Dashboard, select Plugins>Add New. Click Upload Plugin and browse for the .zip file you saved. Click Install Now and then activate it.
In your dashboard left-side menu, you’ll now see a new item called B2BKing. Click it, and you’ll be in the plugin’s dashboard area. From here, you can start setting up your store.
B2BKing Configuration
The B2BKing dashboard is fairly intuitive, and they also host a complete setup guide. I’ll cover a few of the most important steps here.
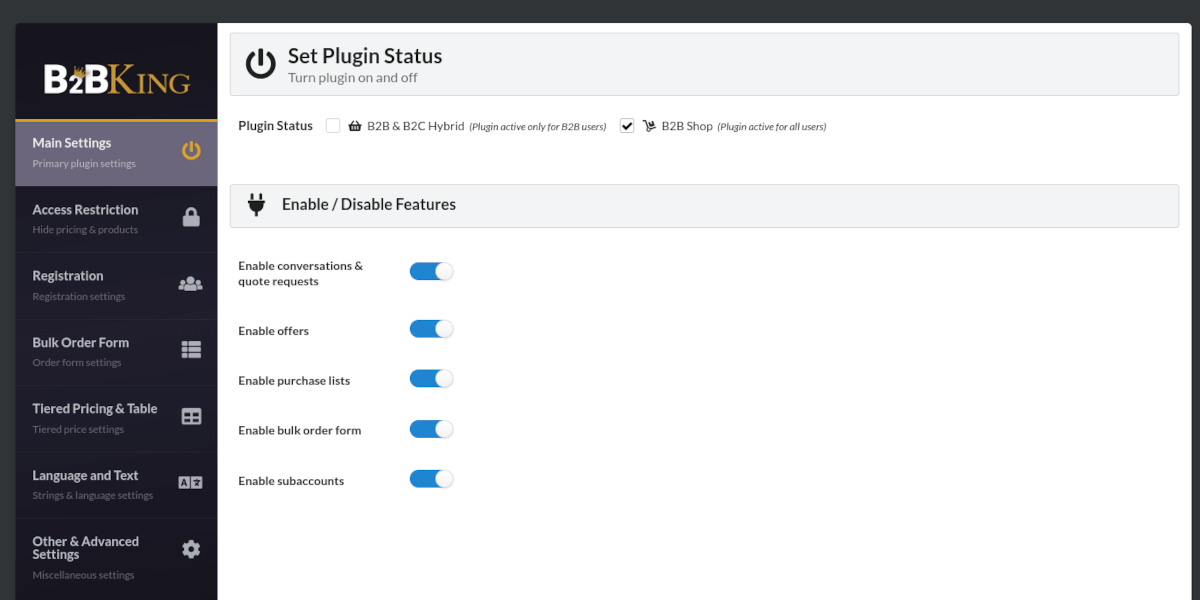
Set Your Shop Mode
Under the Main Settings, you’ll need to choose and set the Plugin Status. This is a crucial step, as it determines how your store will function — as a B2B/B2C Hybrid, or strictly B2B.
Access Restriction
In this area, you can choose to hide prices or hide your shop and products. If you need to be more strict about who can view your site, you can also wall off the whole thing from anyone but registered customers.
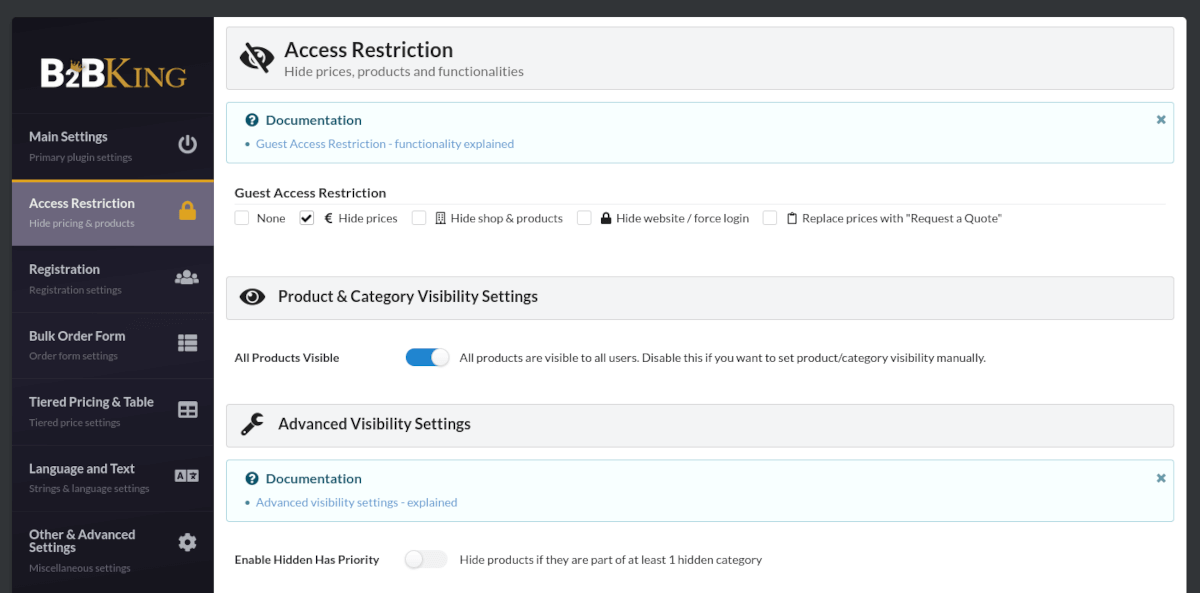
Under the Hide Shop & Products setting, you can enable an additional selection, which will restrict access to pages. When disabled it will only hide your shop and products but allow access to other pages. This can be helpful when you want to let potential customers know about your company and encourage them to register to become a buyer.
You can also allow free access to any guest user by choosing “None.”
You’ll need to create groups to hide or show products to non-logged-in users, which you can do under Product & Category Visibility Settings.
Organize Groups
Creating user groups is another important step. You can create separate groups for B2B and B2C customers. These help you control payment and shipping methods as well as visibility.
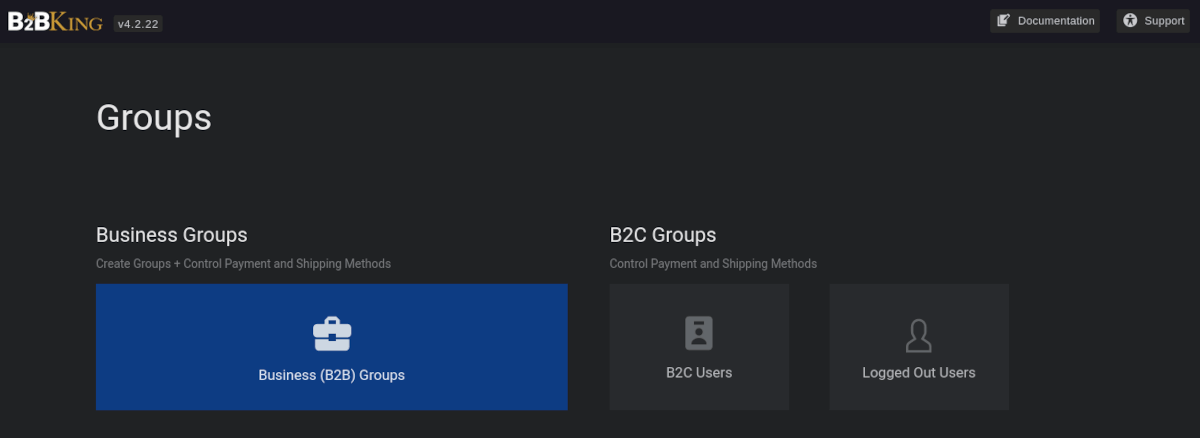
You’ll need to create at least one group. From the Groups menu, choose Business Groups. On the next screen, click Create new group.

In the Add title field, give your group a name and click Publish. You can create as many groups as you need. Then you can assign your users to specific groups on their profile page(s).
Product Visibility Configuration
Going back to Settings, under Product & Category Visibility Settings, you’ll want to toggle the visibility switch, disabling it. Now you can control product visibility according to users and groups.
As an optional setting, navigate to B2BKing > Tools > Bulk Editor.

In the Visibility Editor, if you set “All categories as visible to ALL,” you can then hide specific categories in the WooCommerce Products/Categories menu.

As you create a category, scroll down to find the B2BKing Group Visibility menu. Here you have options to control who sees your new category.
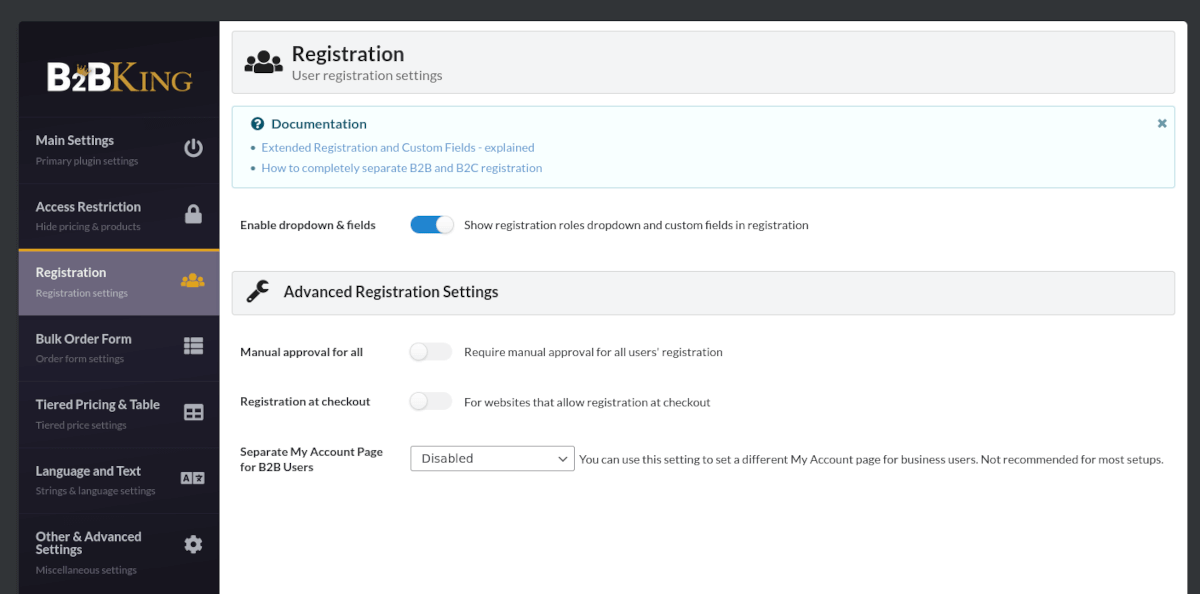
Configure Registration
The next menu to look at is Registration. There’s a toggle that enables the option for the dropdown on WooCommerce registration pages. This allows users to self-assign the category to which they belong.
If you serve both B2B and B2C customers, you’ll need to create separate pages for each on your site. You’ll use different shortcodes on each page for each customer type.
Then, make sure to enable “Allow customers to create an account on the “My Account” page. That setting is actually in WooCommerce under WooCommerce > Settings > Accounts & Privacy.
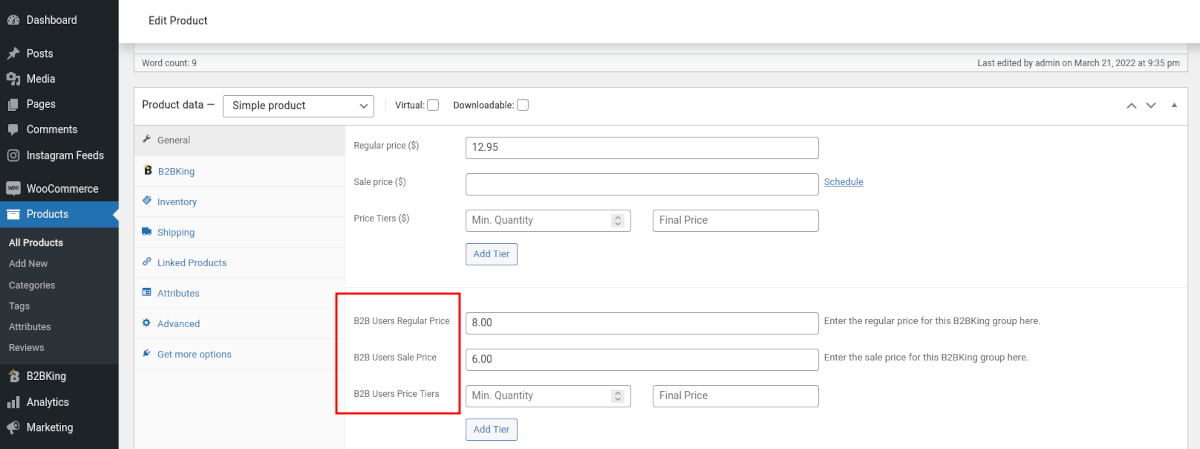
Configure Your Wholesale Pricing
You’ll configure pricing under the WooCommerce menu. Navigate to Products, then either create a new product or edit an existing one. Under Product Data → General, you’ll see fields where you can set the pricing by group.
Language and Text
In this area, you may want to customize the default text that your users will see when interacting with your site. For example, under “Hide shop & products text,” you may want to make it more specific to your brand by replacing the default with “Please login to access the XYZ Corp portal.”
There is also a setting called Purchase Lists Language. Using the dropdown, you can select a specific country to display that language. Note that this only applies to the Purchase Lists, not the entire site. There are tools to make that work, and B2BKing has a detailed tutorial on that.
Other & Advanced Settings
Under the Other & Advanced Settings menu, you can adjust the colors in your shop. You can also manage how Quote Requests work, including the ability to create your own quote form fields.
If you’d like to make special offers to specific groups you’ve created, you can set this up and manage how the offers appear under this menu.
Additionally, you can set the Price and Product Display and choose to change the permalink structure, which can improve loading speed.
There are also settings here for multisite, large stores, VAT validation, Stock, and Coupons.
A Great Start to Your B2BKing Wholesale Store
These are the basics — the most important steps — of getting your wholesale store set up. There’s much more you can configure, but hopefully, these steps will get you started. B2BKing has extensive, well-written documentation that will take you the rest of the way.
If you want to convert your simple WooCommerce store to a fully functioning wholesale business B2BKing will get you there. WooCommerce is a great start, and extending its capabilities with the B2BKing plugin is the perfect way to expand your business.
