


Interested in moving your WordPress site to WP Engine? In this step-by-step WP Engine migration tutorial, you’ll learn how to easily transfer your site to WP Engine hosting without needing any special technical knowledge.
If you want to learn more about WP Engine itself and why it makes a good option for hosting, you can read our WP Engine hosting review. If you haven’t signed up for one of their hosting plans yet, you can grab our WP Engine coupon code to get 4 months free in your first year!
In this article, though, we’re strictly focused on how to migrate a site to WP Engine using WP Engine’s simple, code-free migration tools.
We’ll start with a general overview of how the WP Engine migration process works and then we’ll get into the step-by-step guide on how to migrate a WordPress site to WP Engine.
Let’s dig in…
WP Engine Migration: How Does It Work?

Because WP Engine is such a popular managed WordPress host, there are a lot of people who need to migrate their sites to WP Engine. If you’re reading this, you’re probably one of those people.
To make things easier for their new customers, the WP Engine team created their own WP Engine Automated Migration plugin that lets you migrate your site without resorting to code or more general plugins like Duplicator.
The WP Engine migration plugin is a full migration solution and covers everything you need to do, including searching and replacing database details as needed.
Here’s a high-level look at the process of using the WP Engine Automated Migration plugin:
- Purchase and sign up for your WP Engine account (this link gets you 4 months free) if you haven’t done so already. You’ll also want to add a site if needed.
- Install the plugin on the site that you want to migrate to and start the migration process by entering your WP Engine SFTP credentials.
- Wait a few minutes while the plugin handles migrating your site.
- Preview your site to make sure everything is working right.
- Update your domain to point to your new WP Engine hosting and you’re set to jet!
How to Migrate a Site to WP Engine
Here’s your full step-by-step guide for how to migrate a WordPress site to WP Engine.
1. Sign Up for WP Engine and Add Site
To begin, you’ll want to sign up for your WP Engine account/plan if you haven’t done so already. Again, you can use our special WP Engine coupon code to save some money (4 free months in your first year) if you haven’t registered yet.
When you sign up, WP Engine should automatically create a WordPress site and production environment for you.
If it doesn’t for some reason or if you have multiple sites, you’ll want to create a new site for the migration destination.

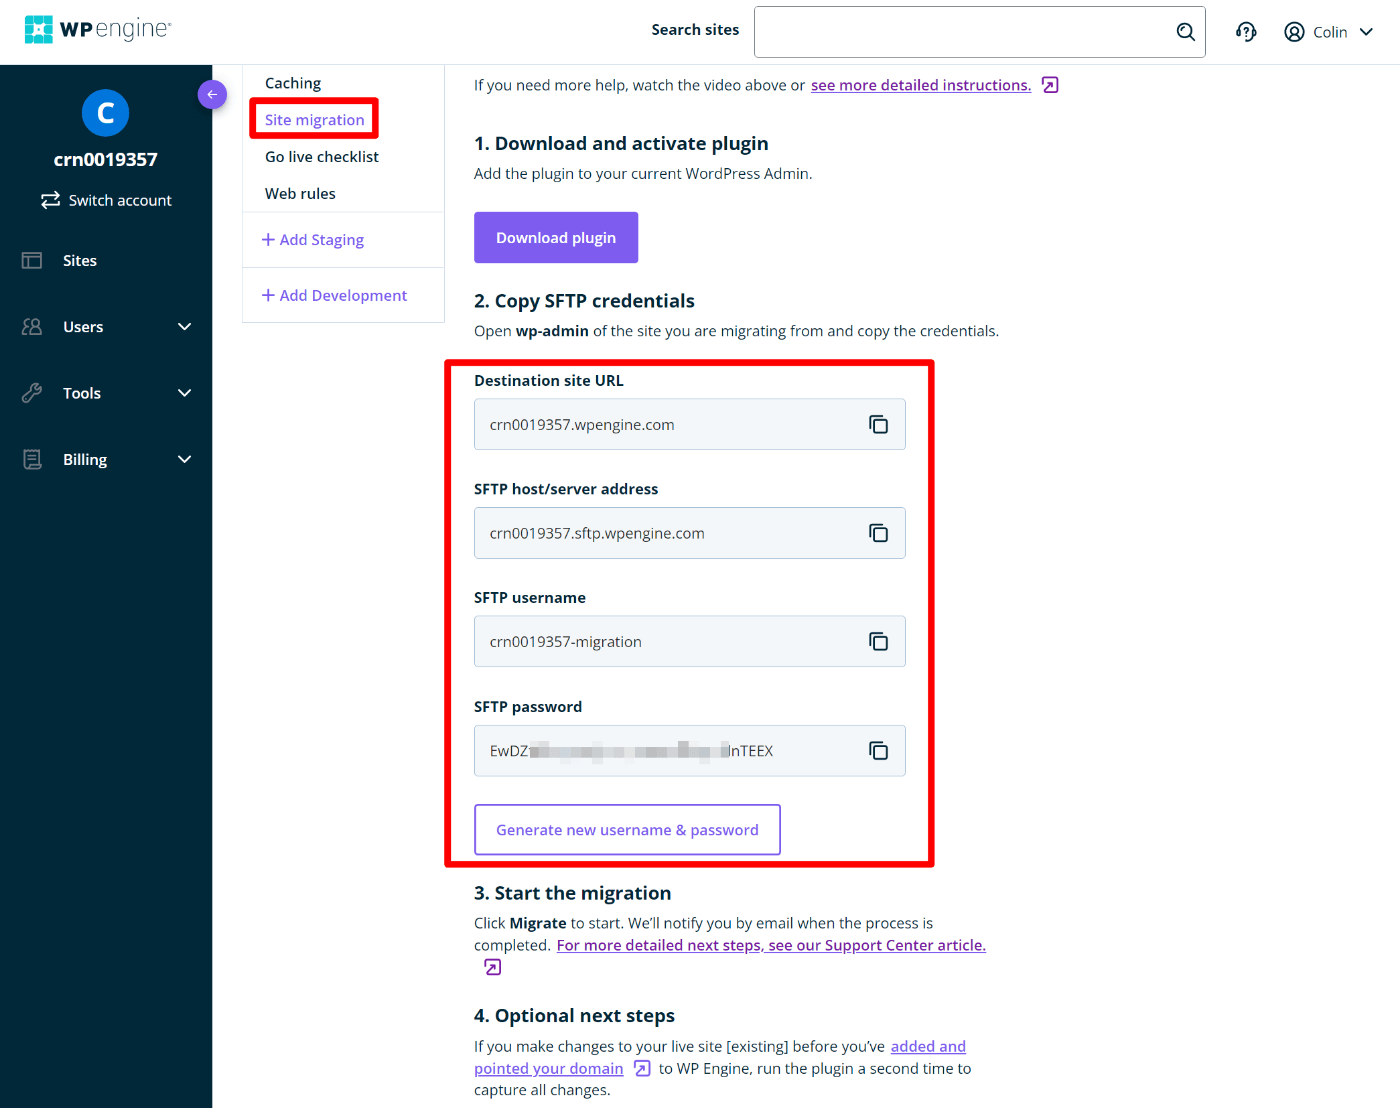
Once you’ve added your site, you’ll want to navigate to the Site migration area in that site’s dashboard. To do that, click on the site and then select Site migration under Production.
If you scroll down a bit, you’ll see your SFTP credentials. If you don’t see an SFTP username or password yet, you can click the button to generate new credentials.
Keep this tab handy because you’ll need this information in a second.
2. Install the WP Engine Automated Migration Plugin
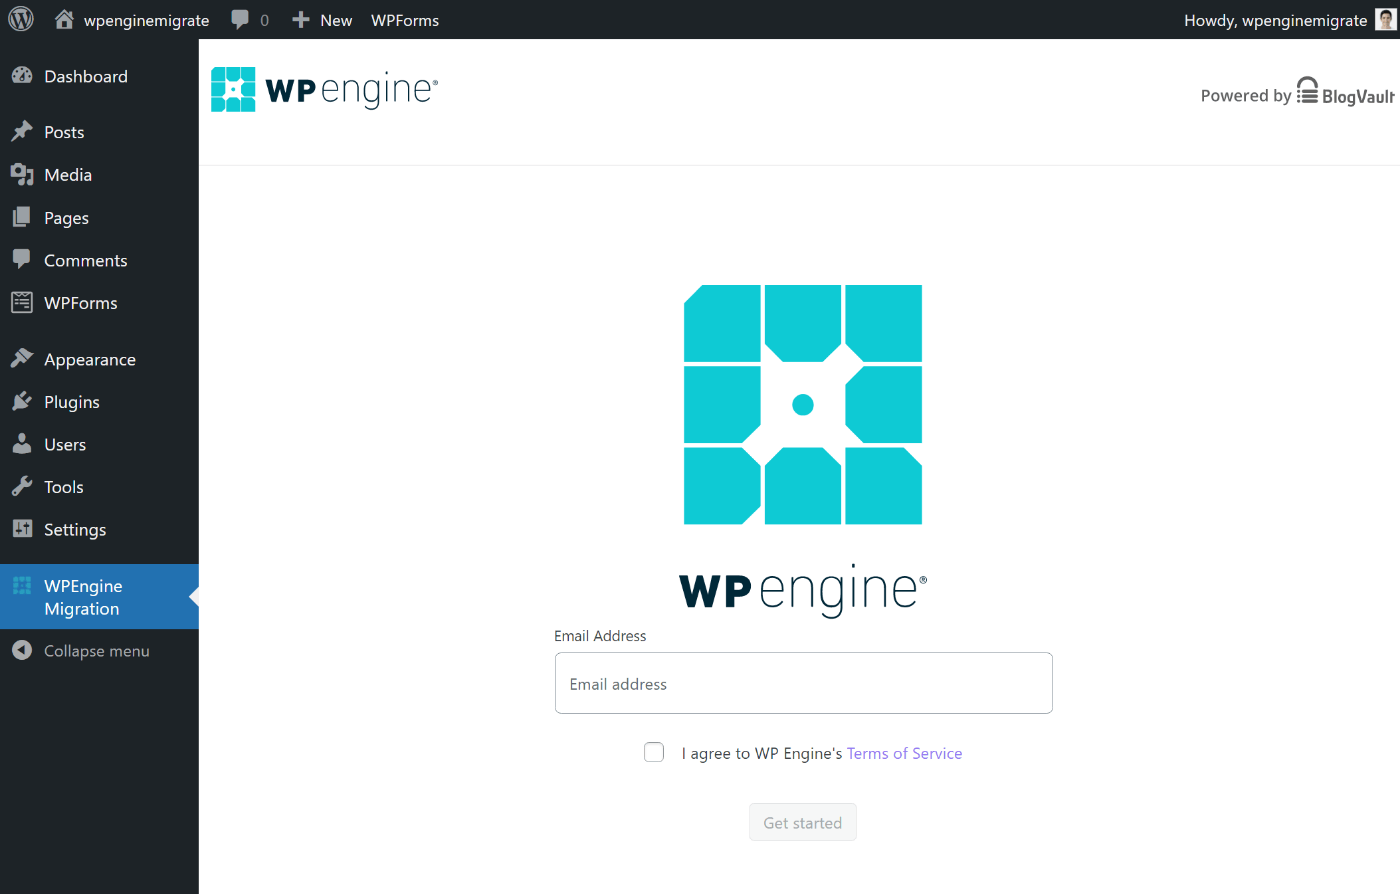
Next, go to your existing WordPress site (the one that you want to migrate) and install the free WP Engine Automated Migration plugin from WordPress.org.
When you go to the new WPEngine Migration tab in your WordPress dashboard, you’ll be prompted to enter the email address of your WP Engine account:
Then, you’ll need to enter the four pieces of information from the previous step:
- Destination Site URL – this will be your temporary WP Engine domain name usually. You’ll be able to update it to your live address later on.
- SFTP host/server address
- SFTP username
- SFTP password
The other settings are 100% optional. Most sites won’t need to change them from the defaults, but you can give them a look to see if they apply to your situation. For example, you could exclude certain data from the migration if needed:

Once you’re happy with how things look, click the Migrate button to start the process.
3. Wait for the Migration to Finish
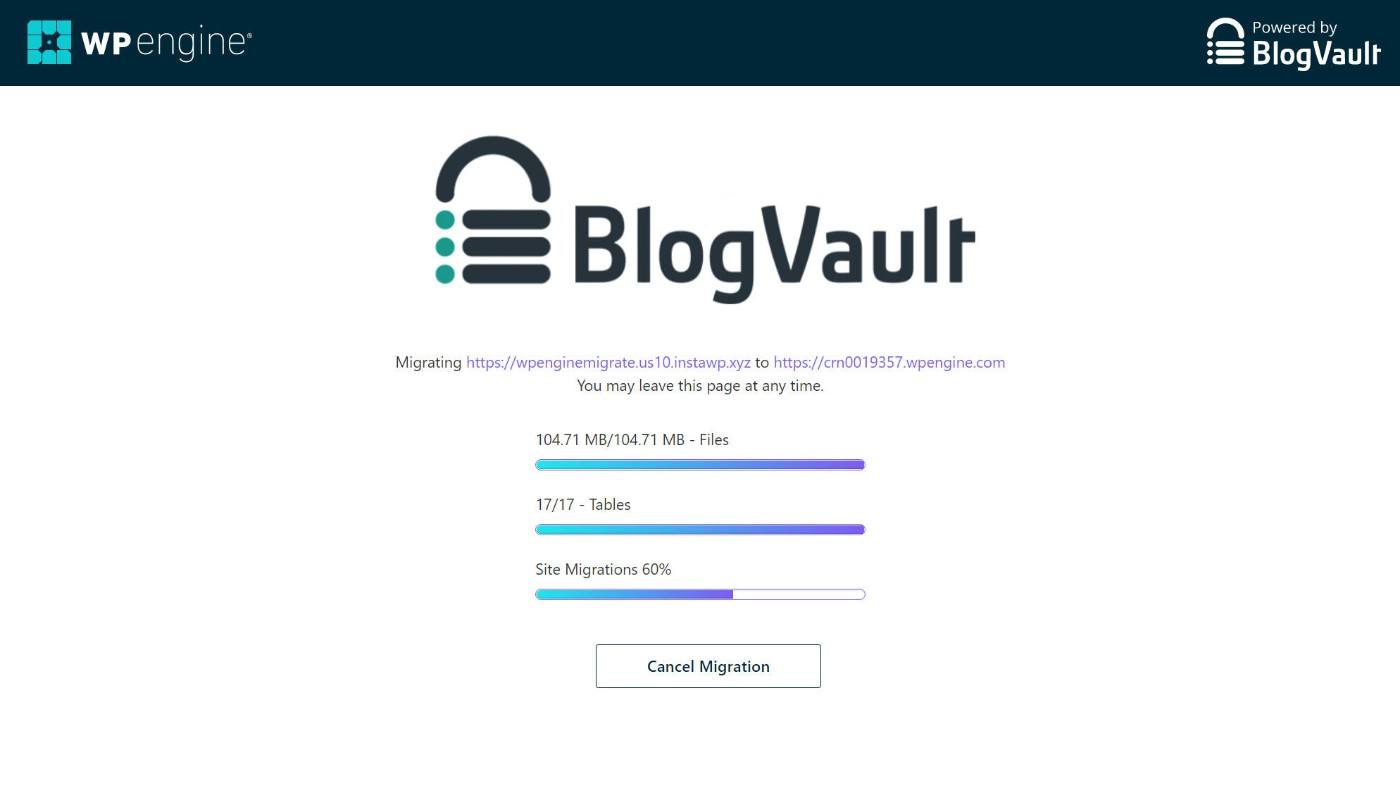
WP Engine will validate that your credentials are correct and then start migrating your site.
How long this takes will depend on the size of your site.
For small sites, it should only take a minute or two. Larger sites might take longer, but still shouldn’t take that long. For example, I migrated a 2 GB site and it still took less than five minutes.
You’ll be able to see the progress of the migration as it works – the interface should automatically update without requiring you to reload the page:
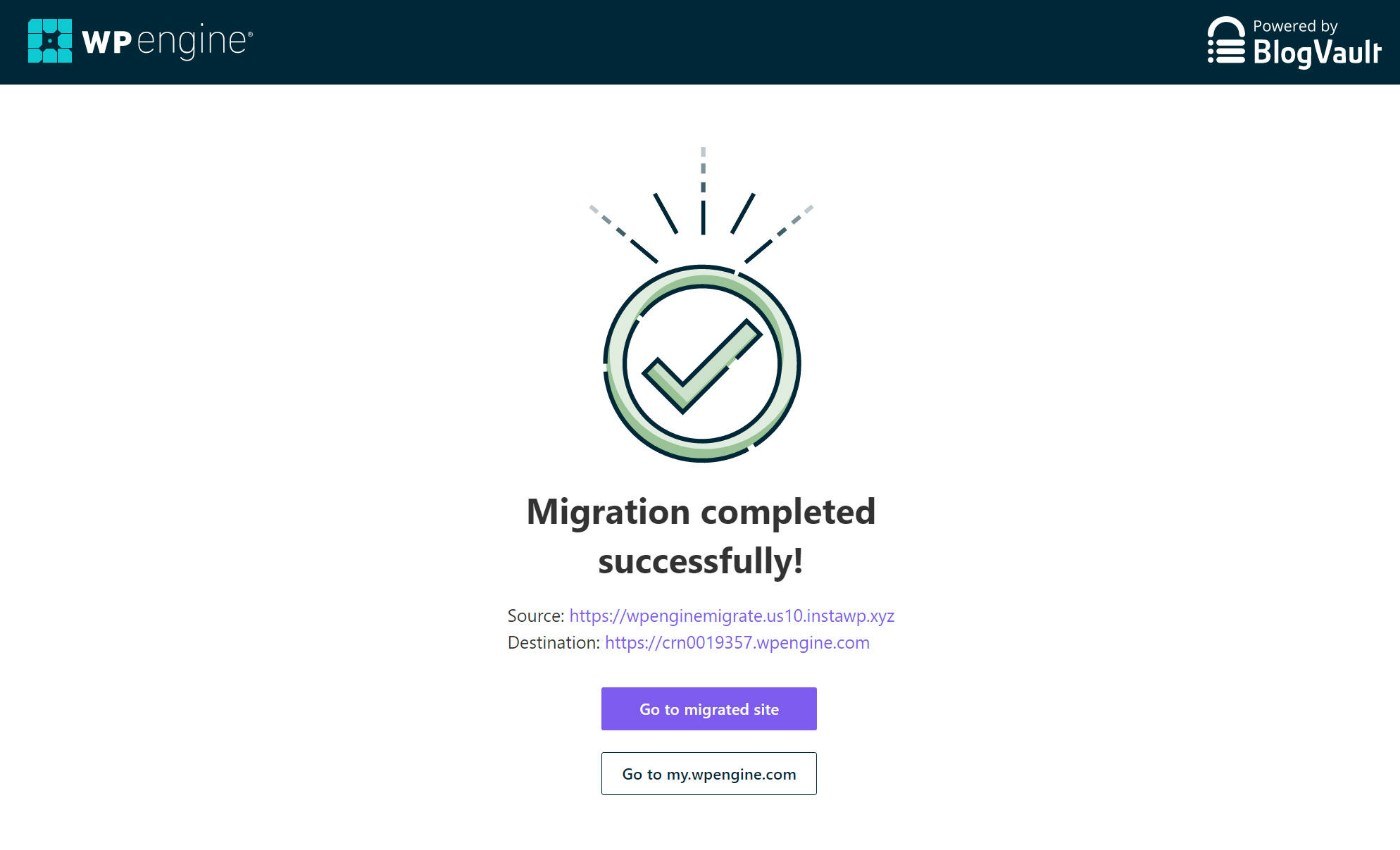
Once it finishes, you should see a success message.
4. Preview Your Site to Make Sure It’s Working
At this point, your site should be successfully migrated.
To make sure everything is working, though, you’ll want to test the migrated version of your site.
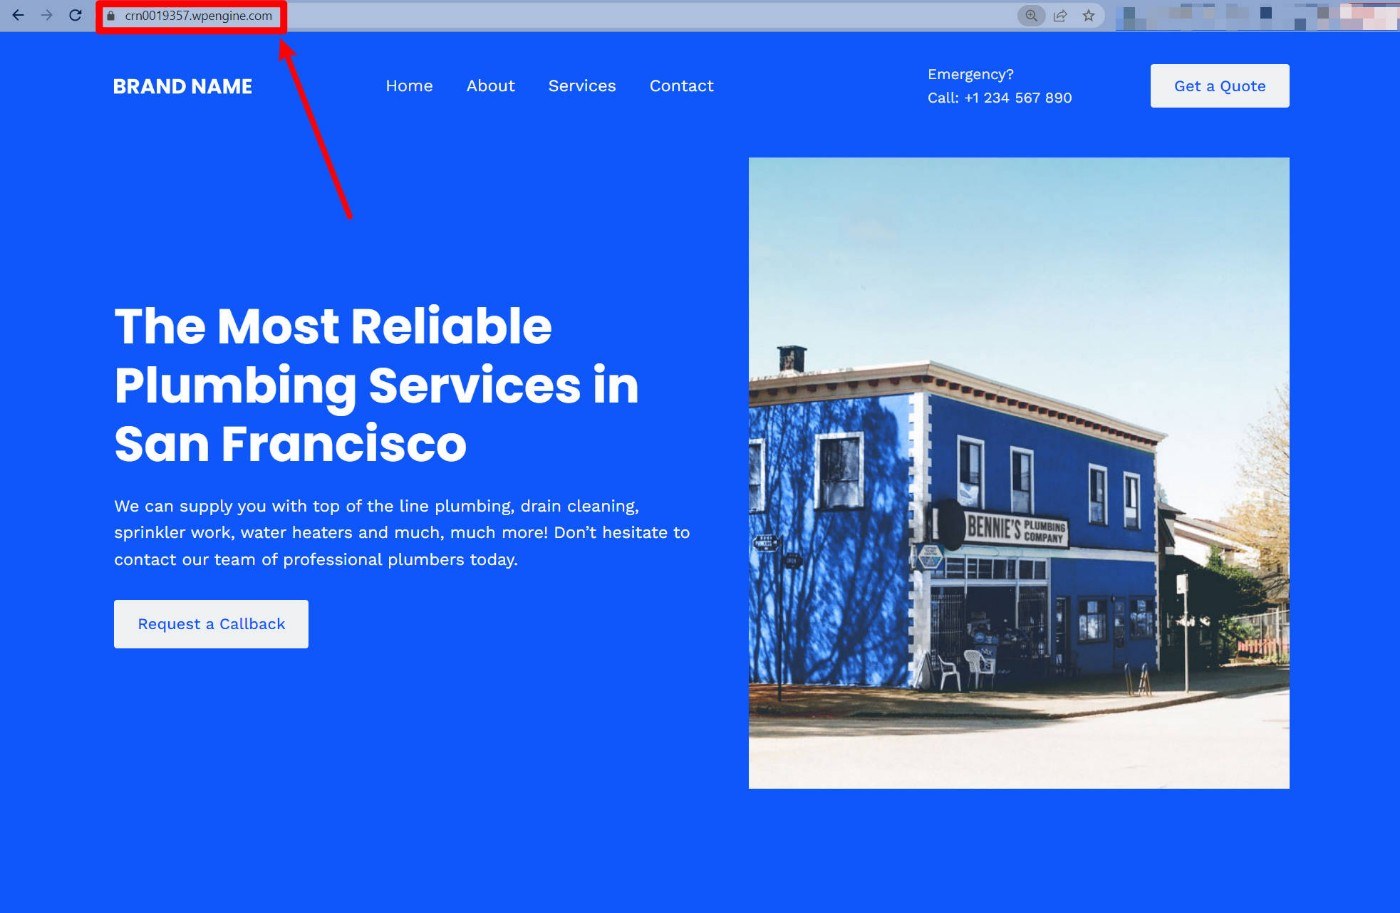
If you moved your site to the temporary WP Engine domain name, for now, you can do that by just entering the WP Engine domain name.
You should see your site exactly the same as it looks on your current hosting:
If you already set up your live domain at WP Engine and migrated your site to the live domain, you won’t be able to just enter the domain name.
Why? Because if you do that, you’ll still see the version of your site at your current hosting until you update your domain’s DNS information.
To get around this, you can use SkipDNS:
- Enter the IP address of your WP Engine server in the IP Address field.
- Enter your live domain name.
The tool will then show you the version of your site hosted on WP Engine so that you can test it out. Alternatively, you can also edit your computer’s hosts file.
Once you’ve verified that the migrated version of your site is working properly, you’re ready to proceed to the last step.
5. Add Domain to WP Engine and Update DNS
To finish things out, you need to add your custom domain name to WP Engine and then update your domain’s DNS configuration to point to your new WP Engine hosting.
Once you do this, visitors will see the version of your site hosted at WP Engine whenever they enter your domain name.
To add your domain name to WP Engine, go to the Domains tab in your site’s dashboard. Then, click the Add domain button:
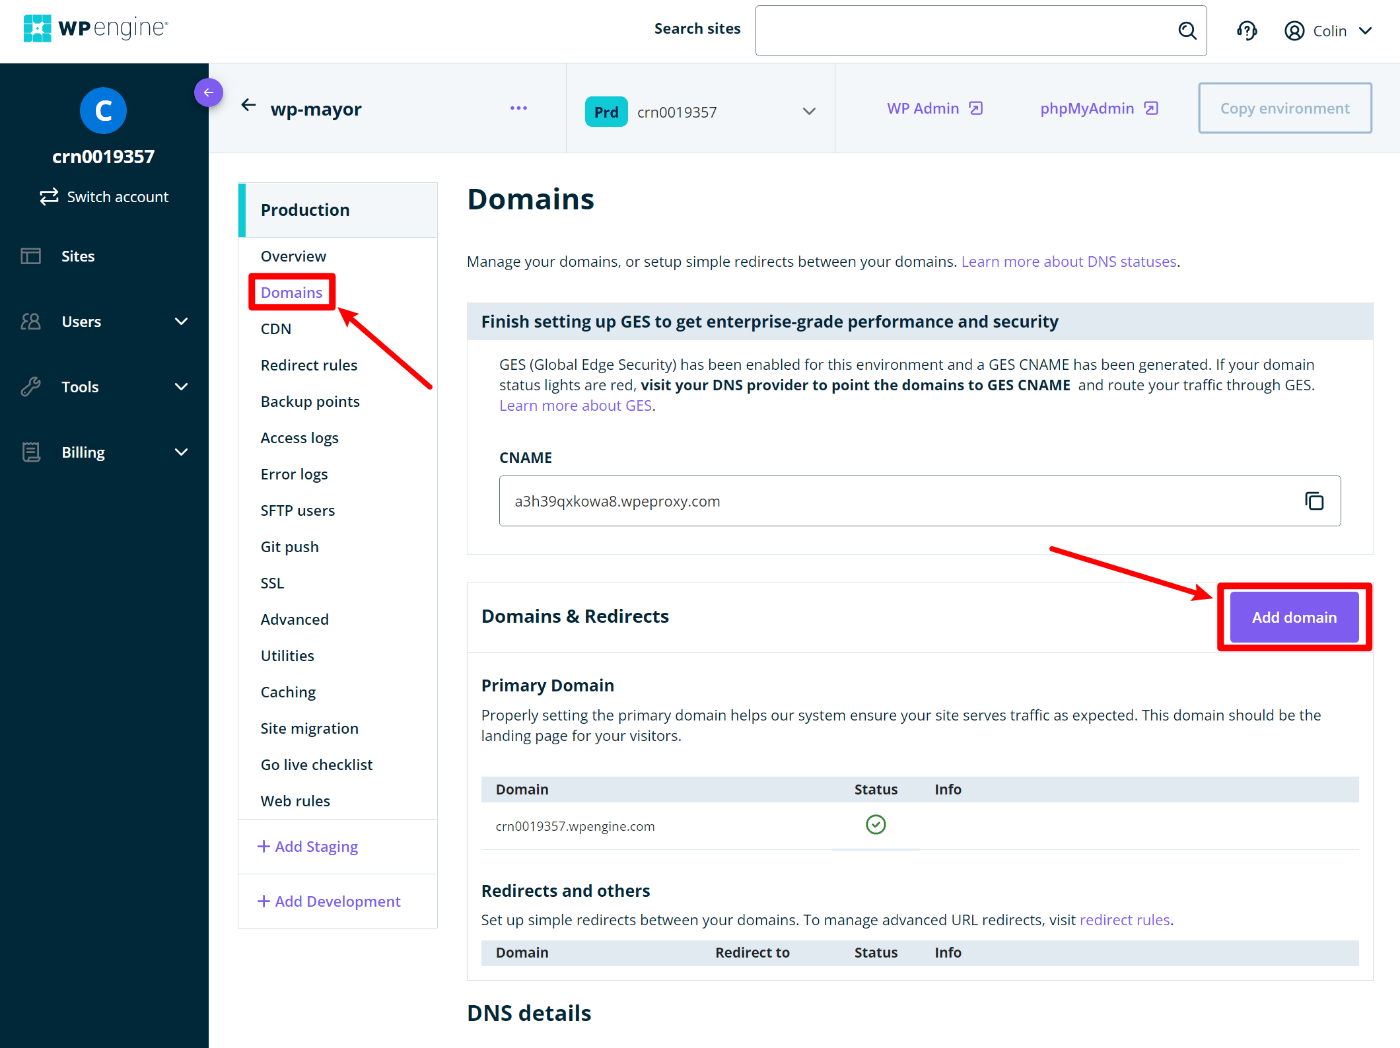
This will launch a wizard that will take you through adding your domain name and updating your DNS information. You’ll typically update your DNS information at the place where you bought your domain name. However, if you’re using Cloudflare, you’ll need to update the DNS information via Cloudflare’s dashboard:
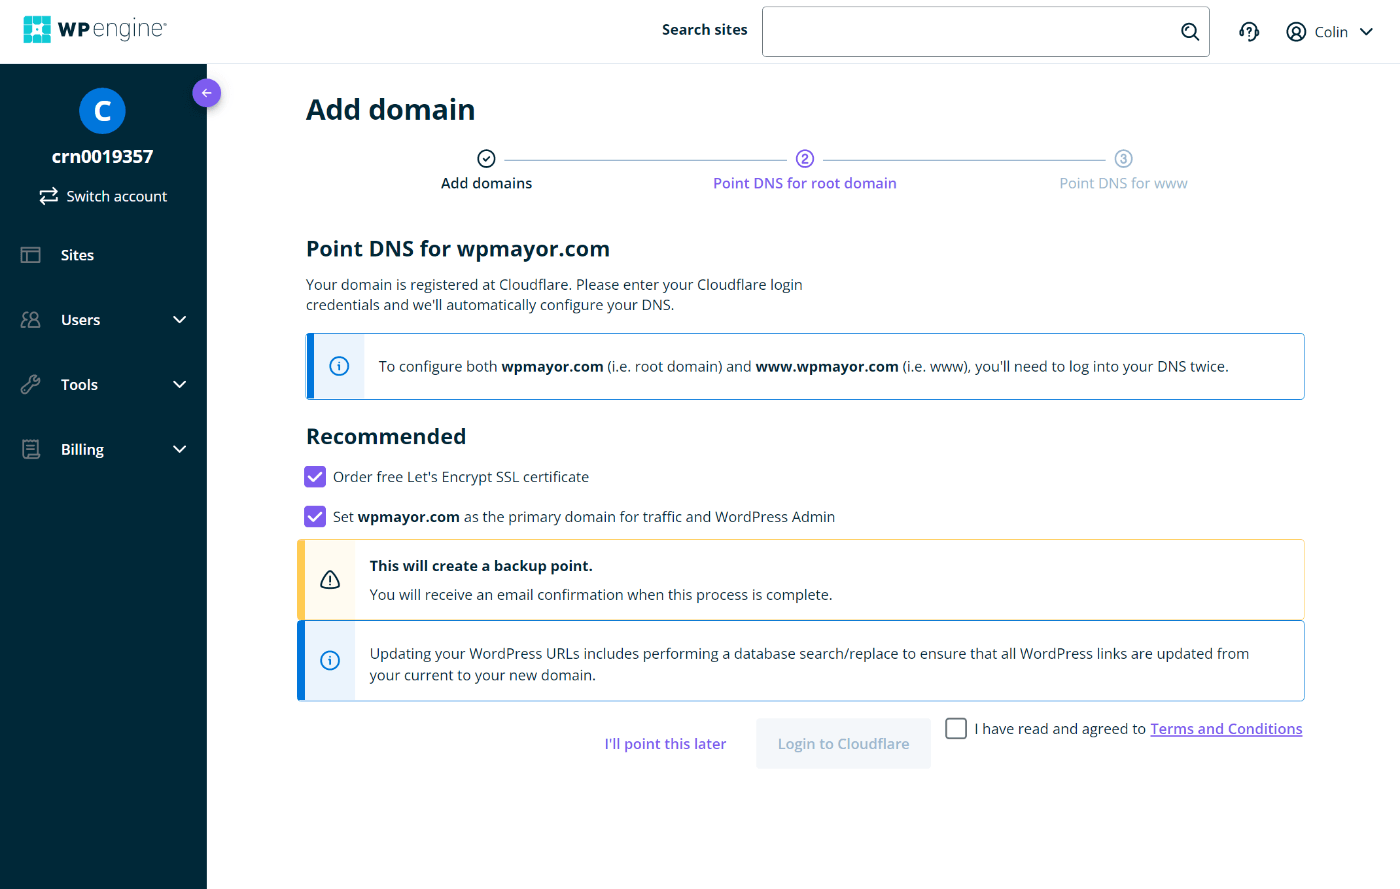
WP Engine will do its best to automatically detect your domain’s registrar to provide you with relevant instructions. If you hit any roadblocks, you can always consult your domain registrar’s support documentation.
Once you add your domain name and update the DNS information, you’ve officially migrated your site!
When you enter your domain name, you’ll now see the version of your site hosted at WP Engine (though it can take up to 24 hours for DNS changes to propagate).
It’s worth giving it another test just to make sure, but you should be good to go at this point.
Migrate Your Site to WP Engine Today
If you’re searching for performance-optimized managed WordPress hosting, WP Engine is a great option.
While moving your site to a new host might feel intimidating, you don’t need to worry. With the WP Engine Automatic Migration plugin, you’ll be able to migrate your site just by copying and pasting a few pieces of information from your WP Engine dashboard into the plugin’s settings.
If you’ve already signed up for WP Engine, go ahead and migrate your site using this method.
And if you’re still on the fence, make sure to grab our WP Engine discount offer before you sign up to save big on your first year.
Do you still have any questions about how to migrate a site to WP Engine? Let us know in the comments!
